
How to Make Reels Go Viral: Top Tips for Creating Viral Reels
While there is no way to guarantee an Instagram Reel will go viral, there are a few tricks we’ve learned for creating viral reels. If you are struggling with getting more views on your Reels, try out these tips for how to make reels go viral. I’m also including my exact steps for creating viral Reels at the bottom of the post to let you see inside my process.


Tips for How to Make Your Reels Go Viral
Pick a Theme for Your Reel
The first thing you need to do is pick a theme for your Reel. It can be something simple like the ocean, friend, a specific destination you want to showcase, etc.
Some of my best Reels have a theme. For example, this Reel is all about cozy cabin vibes. In it, I’ve showcased three of our favourite cozy cabins in Australia. I also tagged the cabins in the caption which is a great way to get noticed by brands you want to work with and a nice bonus for brands who have already worked with you.


Follow Trends But Make Them Your Own
Trends come and go pretty quickly with Reels, so you want to jump on trends quickly. It’s usually more important for trends to get the video out quickly, even if it doesn’t fit your scheduled content.
If you wait a week or two, the trend may have passed by before you had a chance to try it. If you post it after the trend has died off, you won’t get the benefits of using the trend while it is still trending.
When you are jumping on trends though, try to find ways to make the trend your own. This could be by adding your own signature style to it or by making it work for your niche.
This trend with Google Maps is one that I love. I was able to use it to show off one of my favorite places we have ever been, Hutt Lagoon (find out more about our trip to Hutt Lagoon here).


Use Trending Music & Music that Fits the Theme
If possible, try to find trendy songs to use for your Reels. If you can’t find something that is trendy or trending, look for a song that fits well with your theme.
One of the best ways to make Reels go viral is to have music that others want to use. Having viewers click on the music in your Reels indicates to Instagram that they want to use that music as well and is viewed as engagement by Instagram.
Because of that, we usually try to avoid using original sounds on our Reels. We actually sync the song on Instagram music for a chance to be seen easier.
When you choose the song for your video, make sure you take the time to align your clips to the beat of the music. This can take some time, but it makes the video look so much better when the changes hit at the beat and not off-beat.
Something I like to do is listen to the lyrics of the song and pay attention to the pace of the song too. If the music is faster paced or more upbeat, I try to use video clips with faster motions. If it is slower paced, I slow down the clips or find clips with slower motions in them.
For the lyrics, I try to see if there is something I can use to line the lyrics up with the images or video clips. For example, on this recent Reel I posted, I matched up the lyrics to the videos.
It says in the sound, “Life moves pretty fast,” so I use a lot of quick clips with movement in them. Then when the voice says, “If you don’t stop and look around once in a while…”, I used a clip of me stopping and turning to look at the camera. Some people may not notice these little things consciously, but it can be what sets my Reels apart and helps them perform better.
Because editing Reels on Instagram can be difficult, I like to screen record the songs or sounds I want to use from Instagram. I can extract the audio in InShot so that I can edit my Reels to the beat and line up clips with specific words in the audio. It makes it so much easier than trying to go back and forth between InShot and Instagram or trying to just edit it all in Instagram.

Provide Value Through Education
People love learning through Reels. They are short and easily digestible, so people save them to come back and reference later. Those saves add up, and Instagram sees your Reels as more valuable and continues showing them to others who are interested in similar things.
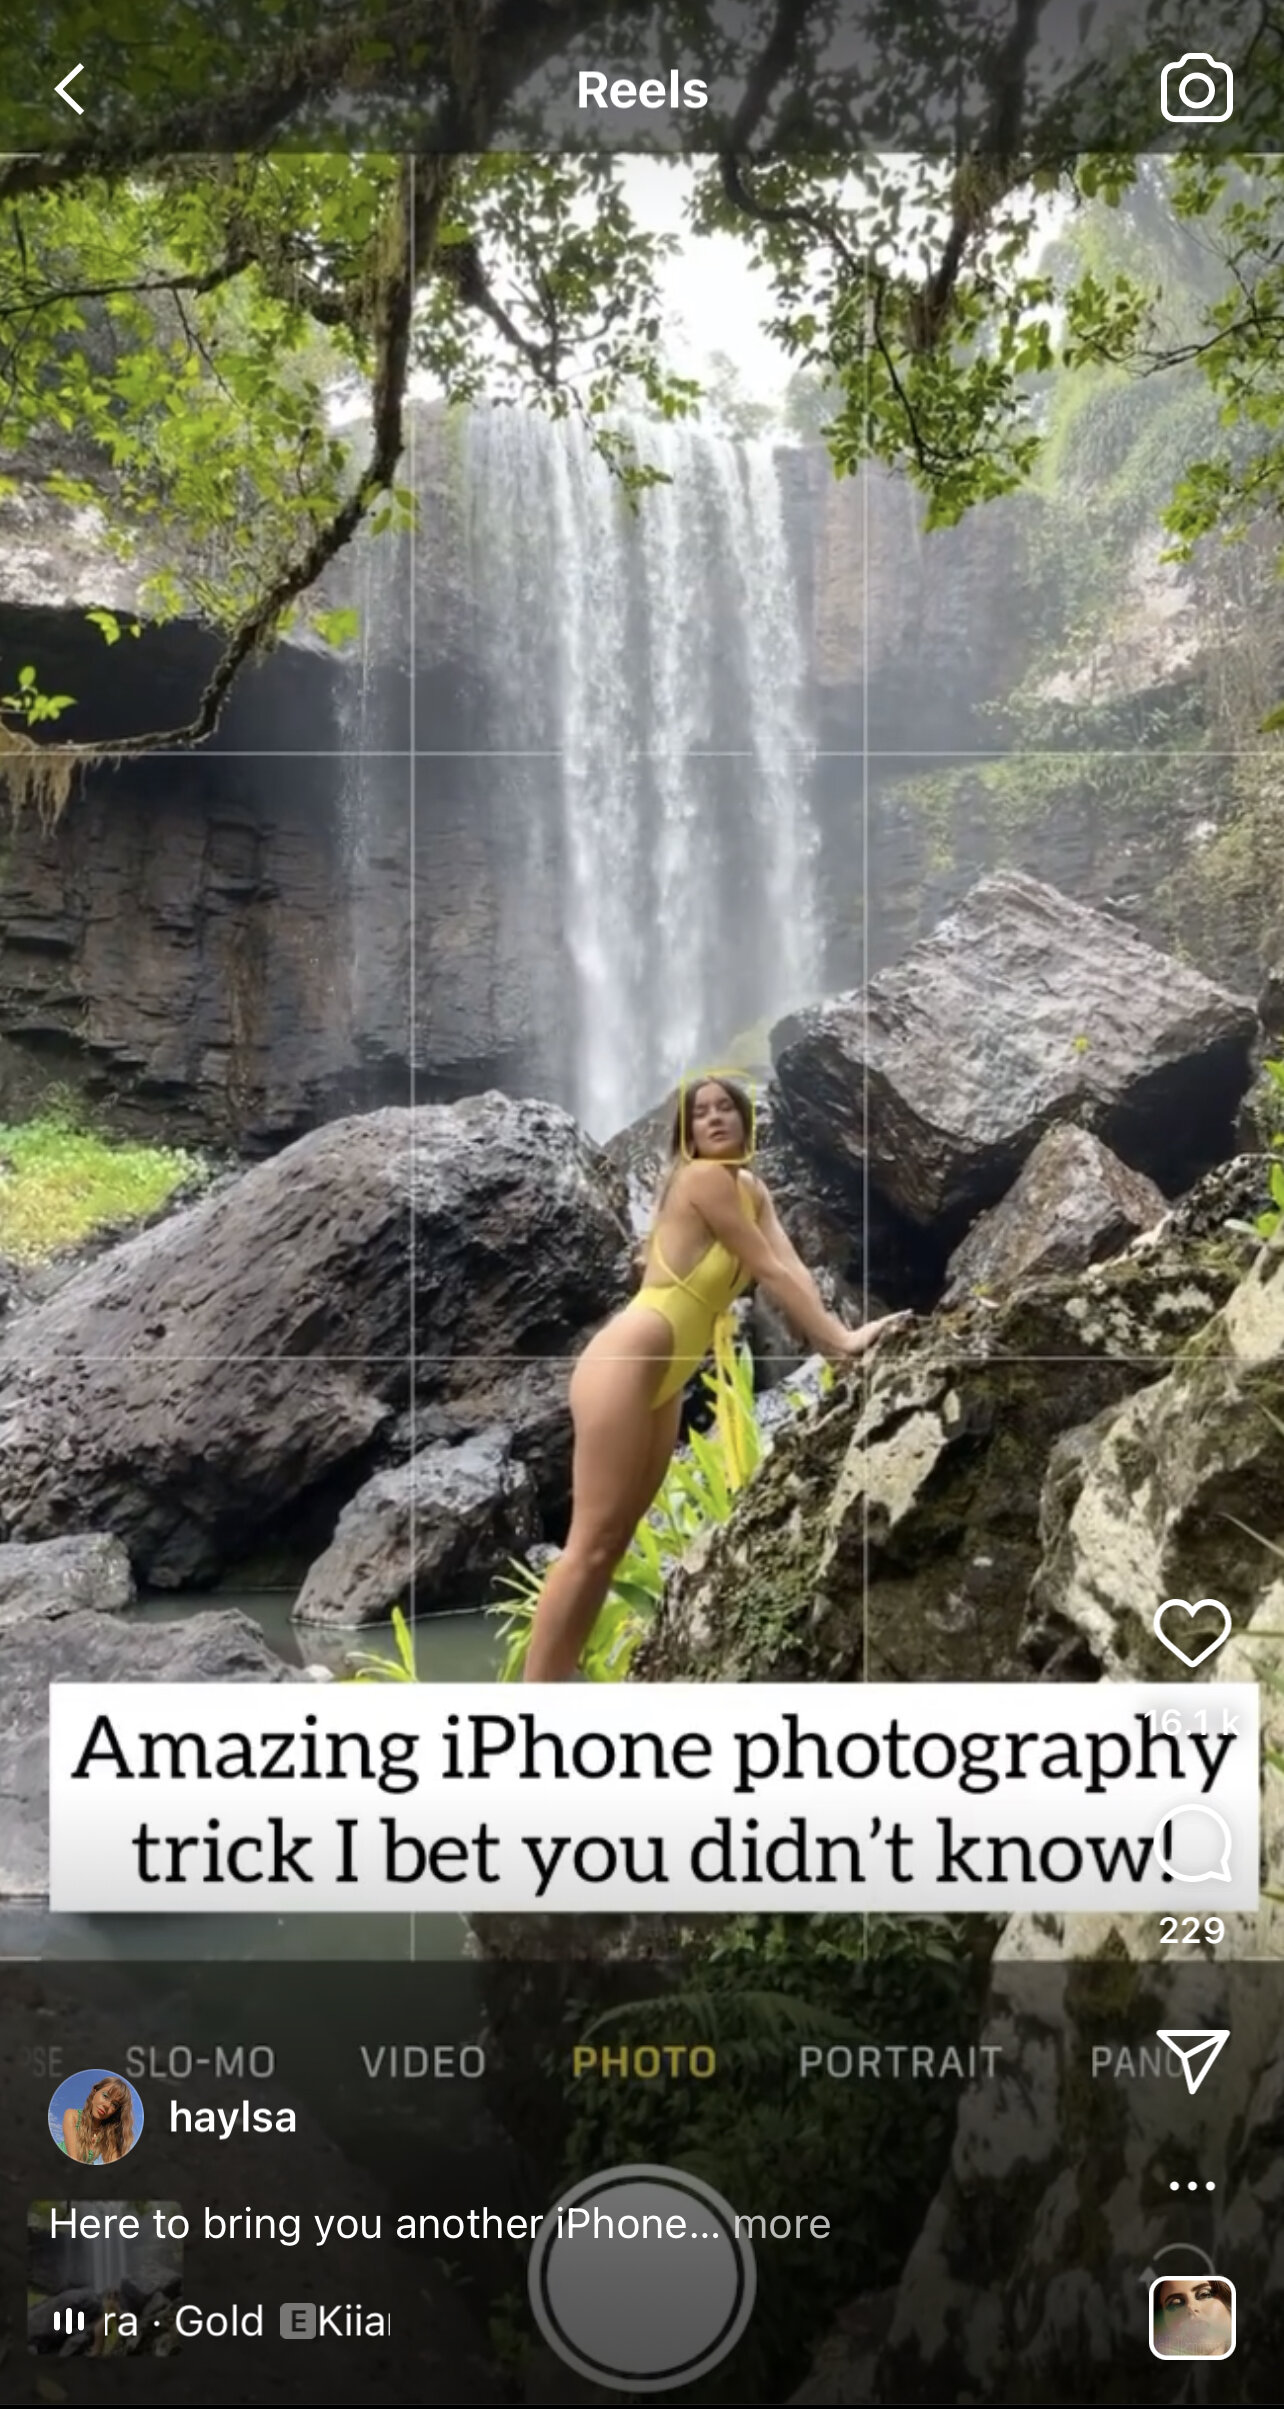
You can take this tip and make it work with your niche no matter what niche you are in. For example, in travel, you can share travel tips for a destination you visited. Most niches can share photography tips related to their niche or editing tips for how you edit your photos.
In fashion, you can show how you put together outfits and share tips on seasonal styles and trends. For beauty content creators, people love to see tutorials and get tips on how to take care of their skin or try different looks with their makeup. Food content creators can share tips for baking or tips for improving recipes as well as show quick recipes people might enjoy.
Think about the questions you get all the time and make Reels to answer those questions. Some of our best Reels have been Reels that share travel and photography tips. For example, we got a lot of DMs asking us about our favourite places from our trip to Tasmania, so we turned it into a Reel.
PRO TIP: If you have a blog post, you can also use Reels to help advertise that post. In the caption, we mentioned we have a blog post on the best places to go in Tasmania that includes five extra spots to see. When the Reel goes viral, even more people who are interested in Tasmania see that we have a related blog post and can click through to it from our bio.


Add Text to Your Reels
Adding text overlays to your Reels is another tip for how to make Reels go viral. If you are using an inspirational sound, you can use text overlays of what the voice in the clip is saying. You may have noticed that in one of the earlier Reels I shared about life moving fast, but you can also see an example of this here.
Adding text over your Reels is also another way to provide value to your audience. You can take your tips and put them into text format so that you can use music and not your voice for the sound. Or if you are talking during the Reel, the text overlays help people who cannot listen with the sound on right then.
If you are adding text to your Reels, make sure to size your video to 9:16, but make sure your text fits within the 4:5 ratio. You want it to show in feed when people are scrolling and come across it, and this is one way to make it easier for them to watch your video.
There are a few ways to do this. You can create the Reel, add the text, and then download it. Go into Instagram and pretend like you are creating a regular post. In the preview, it will show the square size or you can zoom out to the 4:5 size and see if your text fits. You can also create your Reel, download it, and upload it into a program like Canva. Create a blank design that is 800 X 1000 pixels and drop your video into it. If your text shows while it plays, you are good. If not, you can make adjustments so that it does fit.
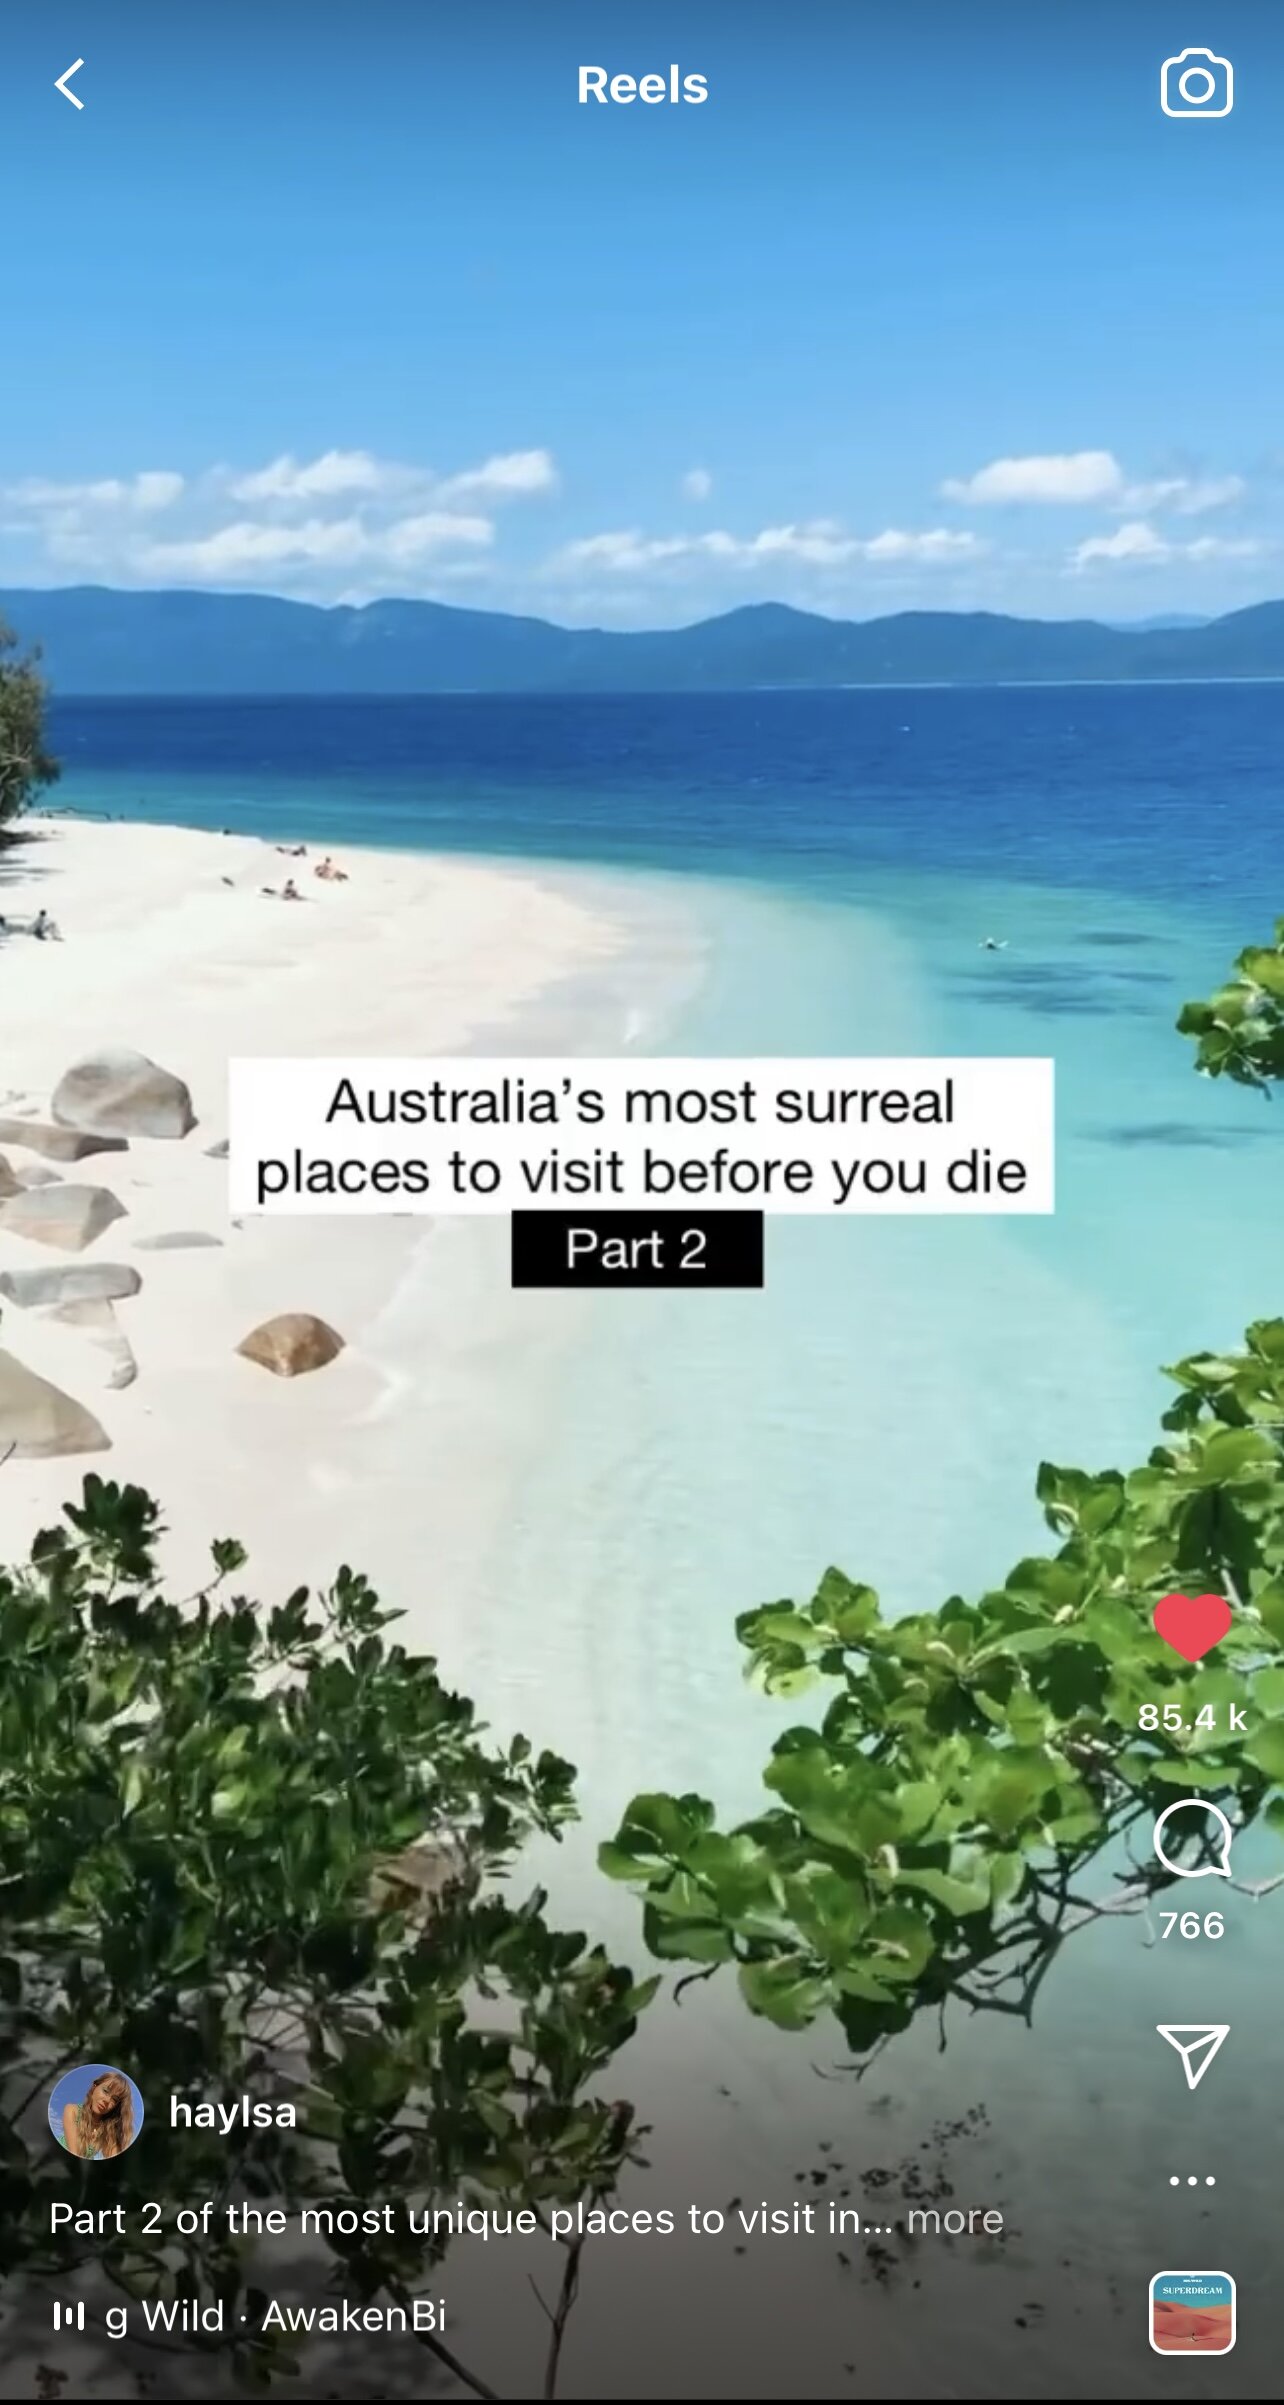
In this Reel, I show off some of our favourite places to stay in Australia to go with our blog post on bucket list accommodations in Australia. For each accommodation, I put a text overlay of the name of the accommodation. The Reel also starts off with a text overlay letting people know what the video is about.
Because people can see the locations in the Reel, they ended up saving it for future holidays in Australia. When they come back and look at it later, it will again direct them to my blog to find out more about those destinations. They can quickly search through the post for the ones they are most interested in staying in on their trip.
Use High-Quality Footage
Yes, the footage should be high quality, but we actually don’t use much footage from our professional cameras (get our full gear list here). Instead, most of my Reels are shot on my iPhone 12 Pro Max.
I’m really impressed with the quality of my videos taken on my iPhone, and it lets me access and edit my Reels much easier than transferring them from our camera and then editing them into Reels.
The best camera is always the one you have, and many phones take great videos now. The more important thing is learning how to get the best quality footage from the equipment you have. You can use some of our favourite editing apps to make your videos look better with simple edits too.
Part of getting great quality footage from your phone is having good lighting. This is especially true when you are filming your face. If you are indoors, consider investing in a ring light so that you have enough light even on a cloudy day. If you are shooting outdoors, try for times of the day when the sun is lower in the sky and the lighting isn’t so harsh.
Use InShot to Edit Your Videos
InShot is one of our favourite tricks for how to make your Reels go viral because it makes it so much easier to edit your videos. With InShot, you can easily combine your photos and videos, slow down or speed up the speed of your videos, add text overlays, and match up your images and videos to the sound. Make sure to crop your video to 9:16 to make sure they are the optimal size for Reels.
The best way to get your Reel to line up to the beat of the music is to hit pause on each beat. Then you can line up your clips to that spot without it taking as much time. The options you have with InShot are one of the reasons it is one of the best Influencer apps out there for content creators.

Sometimes Short and Sweet is Better
It’s easy to think that you need to max out the time on every single one of your Reels. On some Reels, it makes sense to squeeze in as much as you can. Other times though, shorter and sweeter Reels are more likely to go viral.
You don’t want viewers to get bored and swipe away before the Reel ends. That is an indicator to Instagram that people are not interested in the Reel, and they are not likely to show it to as many people if most people are swiping away early.
Because of this, you don’t want to try to stretch out your Reels to be longer than they need to be. Keep the action moving and keep people interested. If that means the Reel is only a few seconds sometimes, that is better than forcing it to be longer than it needs to be.
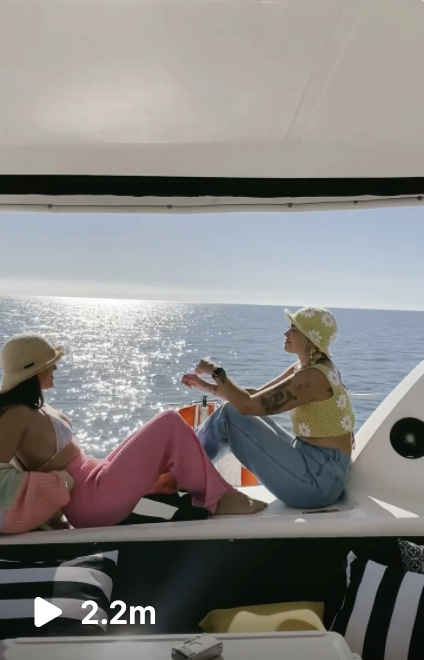
People seem to love our Australia bucket list Reels, and this one is less than 10 seconds long. It quickly goes through pictures of Australia to keep people interested but not so many that they lose interest and swipe away.
If we turned this into a 30 second Reel, it probably wouldn’t have done as well because people would get tired of it and leave. The quick action of the images and clips also make it more likely people will watch it a second or third time to try to see an image again (another good indicator for Instagram that people are interested in the Reel).
POST REELS TO YOUR FEED
Make sure to post your Reels to your main Instagram feed. You can always remove them later if they don’t fit the look you are going for, but it helps get them more views if they are on your feed at first. I would leave them up for at least 2 days minimum, but you can leave them up for a week or so and then remove them if you really don’t want them there.
When you add them to your feed, you can add a cover image to make it match your aesthetic better. Choose a photo that represents your Reel and edit it to match your feed. (Struggle with editing? Check out our Lightroom Presets to edit like us!).
PRO TIP: If you want to have text on your cover for your Reels feed but not on your main feed, you can put the photo into your stories or Canva, add the text you want near the top or bottom, and then pretend to create a post on Instagram to make sure it is not within the square that shows on your feed.

Post Reels Frequently
The more Reels you post, the higher chance you have of getting one to go viral. Don’t feel like you have to post one every single day, but try to post them as often as possible.
Don’t delete Reels that don’t take off right away either. Sometimes it takes a few weeks or a month before they take off, so don’t get discouraged if they don’t get that many views in the first 24 hours.
Give it time and keep posting more Reels in the meantime and eventually one will take off (it might even be one you didn’t expect to do that well!).
How to Make Reels Go Viral: My Step-By-Step Process
Step 1: Research ideas on Instagram Reels by spending time on the platform. This helps you see what is trending and what is doing well in your niche and in other niches. Save any sounds you stumble across that you like so you can find them later.
Step 2: Choose a song or a trend to focus on. Go back through any Reels you saved and sounds you saved to find one you want to use.
Step 3: Once I choose the song, I screen record the song on Instagram. Then I extract that sound in InShot so I can use it with my video.
Step 4: Apply filters to the clips you want to use. You can find the apps I use for videos and photos in my post on the best editing apps.
Step 5: Import clips and photos into InShot. Match them up with the beat and rearrange them into the order you want them to be in.
Step 6: Add text if needed. You can also do this within either TikTok or Instagram so that the text is added natively (something they both claim to like).
Step 7: Upload to Instagram. Make sure to write a caption that adds to your Reel and to choose hashtags that work with the content of your Reel. Don’t forget to add a cover photo too if you want one for your feed.
Now you’re ready to start creating viral Reels and take your Reels to the next level. No more wondering how to make your Reels go viral because you’ve got our step-by-step plan. I’m excited to see what you create!
Looking for more Instagram tips and tricks? Check out these related posts:
Like this post? Pin it for later and share it with others!
